|
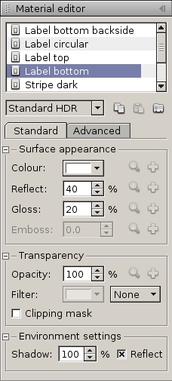
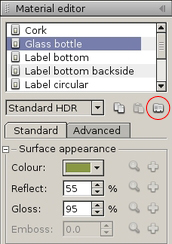
The top section of the material editor panel lists all materials available in the currently selected model. Click to select the material entry you would like to modify.
Surface appearance
This section allows you to specify the color and the reflective properties of the surface. These properties are vital in defining the visual appearance of a material. By simply changing the following settings, you can create a wide range of materials such as paperboard, plastics, metals, glass and much more.
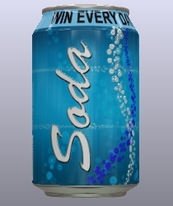
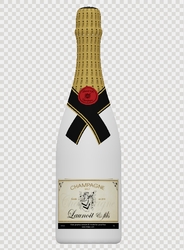
The color layer will add a constant color or a color image to your models, like for example a label:
| |
|
|
|
|
| |
|
|
|
|
| |
|
|
|
|
| |
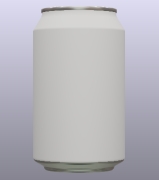
No color |
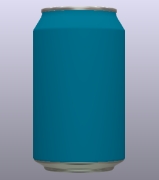
Constant color |
Color image |
|
| |
|
|
|
|
The reflect field controls the overall surface reflectivity, ie. how reflective your model is. A low value will create a rough and dull surface material, such as paper. A medium value will simulate varnished or coated surfaces, as well as smooth materials like plastics. Very high values, up to 100%, will simulate mirror like reflections, such as from metals.
| |
|
|
|
|
| |
|
|
|
 |
| |
|
|
|
|
| |
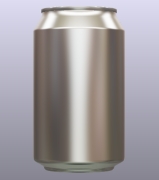
Reflect: 0 |
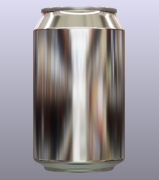
Reflect: 50% |
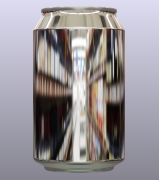
Reflect: 100% |
Reflectivity image |
| |
|
|
|
|
The gloss field changes the glossiness of the reflection. A value of zero represents a very matte surface, while a value of 100 will make your model extremely shiny.
| |
|
|
|
|
| |
|
|
|
 |
| |
|
|
|
|
| |
Gloss: 0 |
Gloss: 50% |
Gloss: 100% |
Glossiness image |
| |
|
|
|
|
Each of these layers (color, reflect and glossiness) can also be controlled by an image. Applying an image to the color layer will, for example, add a graphical artwork to your model. See below for more details on layer images.
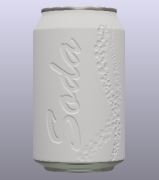
Embossing
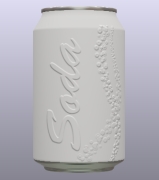
You may add embossing or a relief to your model by using this section. The embossing mask is supplied as a greyscale layer image. The strength of the embossing can be controlled by changing the scale field. Both positive and negative embossing can be simulated. Use a negative scale value to flip the direction of the embossed areas (inwards becomes outwards and vice-versa).
| |
|
|
|
| |
|
|
|
| |
|
|
|
| |
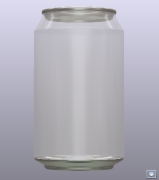
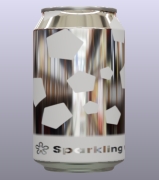
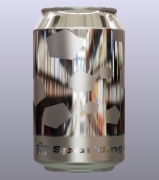
Emboss: 0 |
Positive embossing |
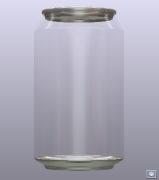
Negative embossing |
| |
|
|
|
Transparency
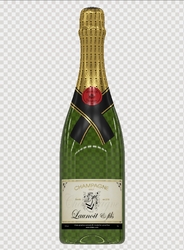
A model can be transparent, such as one made of glass or transparent plastic, or can have translucent parts. This section controls the opacity of the material (how much light is absorbed) and its color. Adding a transparency filter will create a material that tints anything seen through it (such as green bottle glass, for example).
| |
|
|
|
|
| |
|
|
|
 |
| |
|
|
|
|
| |
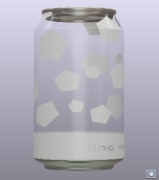
Opacity at 100% |
Opacity at 50% |
Opacity at 25% |
Opacity image |
| |
|
|
|
|
Note: an OpenGL 2.0 compliant graphics card is required to view reflections and transparency. Please make sure that your graphics drivers are up to date if you do not see these effects. |